Senior Secondary in Music Education

1. The start

This semester, we are focusing on Year 11 and 12 HSC course (stage 6) and for our final assignment, we need to create an unit of outline, lesson plan and resources for the Music 2 topic – Music of the Last 25 years (Australian Focus). This will be my regular updated blog post about my drafts and where I am up to!

I have been brainstorming some repertoires and ideas for this unit. I am hoping to incorporate some ideas from my past experience as an year 12 student. Activities provided by my high school were undoubtedly beneficial, as reflected upon my final HSC mark.

I have selected some repertoires for this unit and I think I will base my unit on the music called ‘Kalkadungu’ by William Barton and Matthew Hindson. I was intrigued by the idea of collaboration and this will be a great resource to students who are just starting on their core composition task.

I am planing to create an iBook for my resources so that students can easily access the tasks, recordings and scores. The iBook is divided into chapters, hence students will be able to effortlessly find information and will not be hindered by bad internet connections. Hopefully I will give myself enough time to create resources.
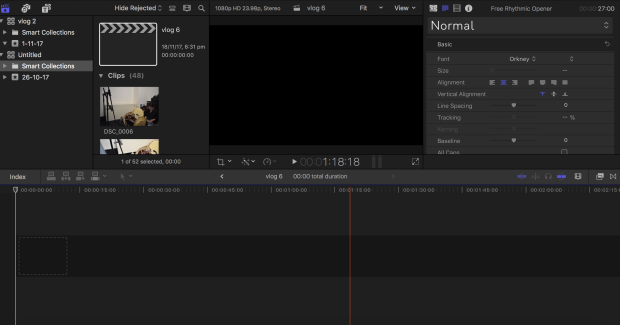
2.  iBook

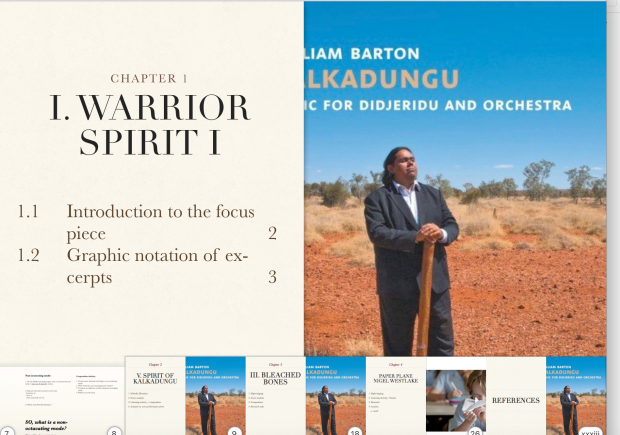
I have started to lay out one of my resources – iBook. I am using 3 movements from Kalkadungu (I,III & V) and one extra piece. Each movement/piece is divided into a different chapter. 1.png

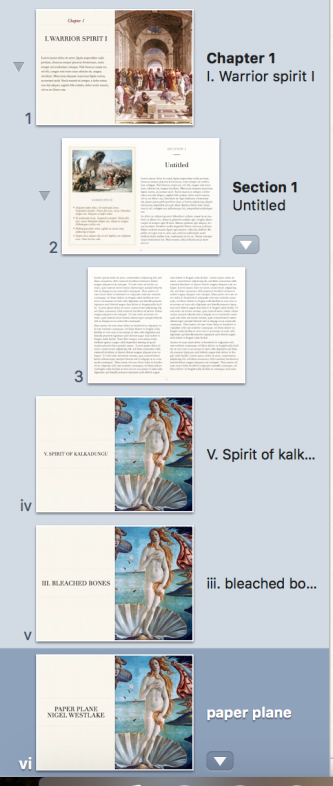
As seen above, I have not progressed much other than formatting to see which informations must be included.

I want this to be an interactive platform and give students an opportunity to self-lead their learning rather than just participating in the classroom discussions. There still will be heavy amounts of class activity/discussion –  as a starting/revision point and for constructive feedbacks. Nevertheless, hopefully these resources will give students clearer directions for when they miss a task and provide them with solid revision sources.

2.png

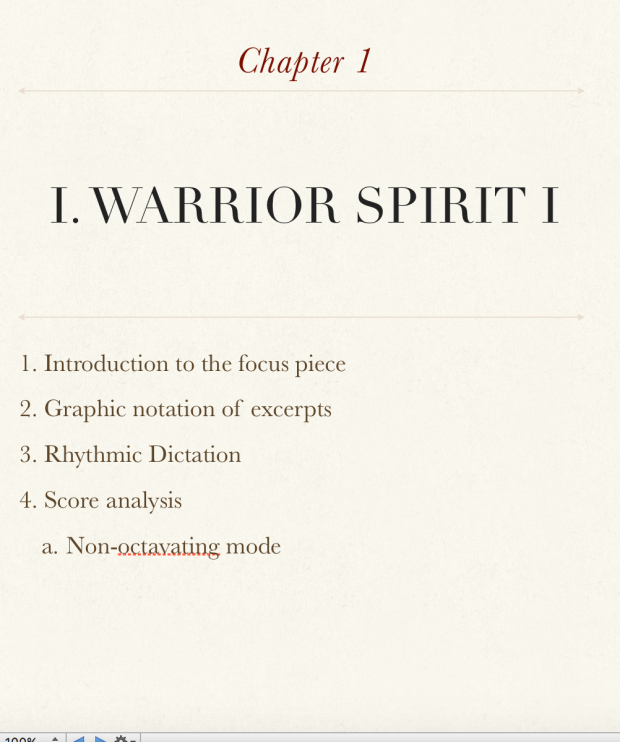
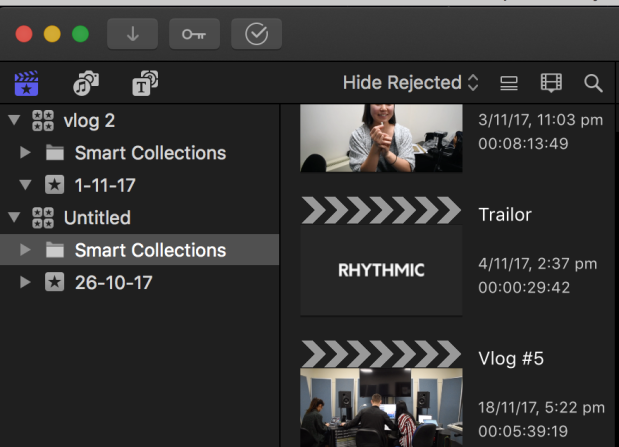
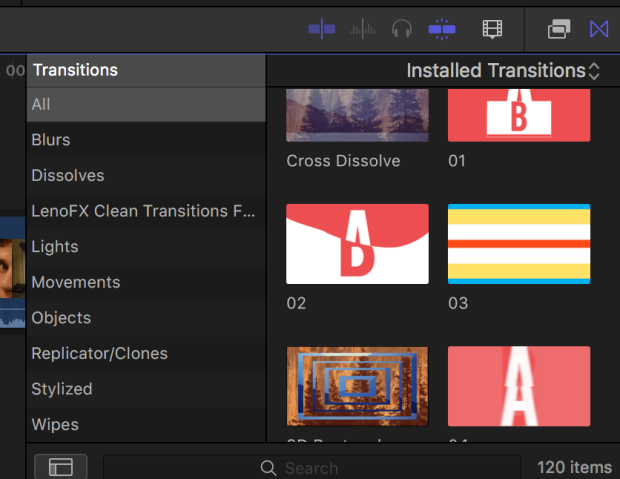
I want to create a table of contents for every chapter, in the style seen in the picture above. This will be done so that students do not waste time trying to scroll down to find appropriate page for each lesson.

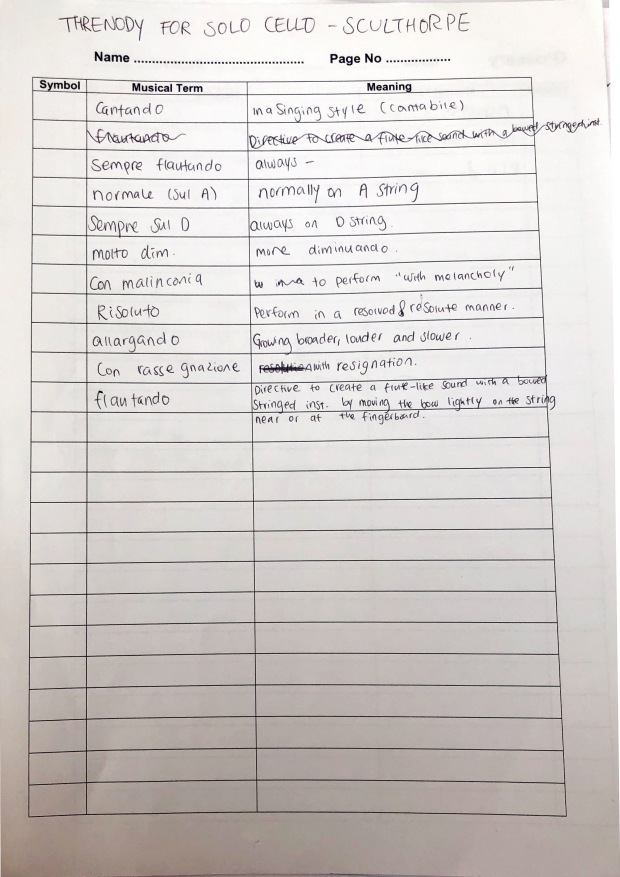
I have also created a word doc file – which will be used as a dictionary for each piece. This was a resource that I had when I was in year 12 and I considered this to be beneficial for my study as a quick revision for musicology assignments and also for the core composition.

Screen Shot 2018-06-17 at 2.52.00 pm.png

So here is what I created and this will be included in every analysis section of the iBook.


3. Continuing with my resources…

For the past few days, I have been working to finish my iBook but I have also been creating some examples for my students to provide a firm foundation. I have done some score analysis and filled in the dictionary table. Here is what I have so far ( I will not upload the score here due to copyright issues):

IMG_8381.JPG

As a university student, I always wanted examples of past assignments. I believe students will feel the same way and would much prefer having something to base their work off.

My iBook is almost completed, however I did face a problem. My original plan was to download the music and insert the mp3 file onto the iBook so that students can listen to the music without internet. Downloading the mp3 file would have also allowed me to crop certain parts of the music for rhythmic dictations and other activities. Unfortunately, I was unable to download the music due to technical issues. Thus I left a note on iBook so that later on when the school gets a hand on the music, I could easily insert it into the iBook.

4. Finale

I have finally inputed all the resources into the iBook including sight-singing exercises and mp3 files for the exercises.

One of the difficulties that I have encountered during this assignment was time management. I did not set enough time to double check and include thorough resources in the iBook. If I had more time, I would definitely go back and reassemble some resources and include more examples.

Originally, I wanted to include the actual score of Kalkadungu in the iBook. However, the importation of the score poorly translated onto the iBook and students will not have been able to annotate directly on that score, unless they download every single page. Hence, I ended up uploading all the scores onto a google drive and inserted the link on iBook, consequently making the page look empty.

I tried to keep the formatting of the iBook consistent through out. As this is their starting point of preparing HSC aural/musicology and composition, I wanted to familiarise students with appropriate skills of writing, analysing and rhythmic/melodic dictating before they move on to other creative activities. Other activities such extended responses, advanced dictation and clef readings will be incorporated later in the semester with more suitable repertoires.

Screen Shot 2018-06-17 at 8.56.35 pm.png


Our Very Last TME Time

Last Friday was THE PRESENTATION NIGHT, which we all have been waiting for all throughout this semester. Our team KASM spend our very last day quite busy. In the last minute, we decided that we will use the keynote to present with our speech. Hence, as soon as we all arrived at the con, Mathew started composing a short song using the virtual instruments we’ve created and myself started creating a short trailer to grab audience’s attention as the first presenter.

Again, I used the Final Cut pro X to create the short trailer – (which will be available in the KASM Channel soon!). and I basically collated short segments of clips from our sessions, then fast forward everything – so that it gives that exciting feeling. And I think it worked out quite well! All the audiences and myself really enjoyed watching it, and it definitely grabbed everyone’s attention. It was a good start to show people our journey in 30 seconds.

After creating the trailer, I had to create the slideshow in very last minute to support our speech – yes I was very stress but it worked out very well. I used the Mac program called Keynote. For people who does not use Mac, Keynote works exactly same to the Microsoft Powerpoint. I added photos, letters and quotes to highlight important bits in our speech. Then, I faced a big problem. I can not hold my laptop while I make the speech… and we do not have the remote as well… hmmm what do we do. Then guess what, I had an APPLE WATCH which I can use to remote the Keynote! I was so surprised when I found this out haha. So we gave a go! We did a mock speech with using the Apple Watch – and it was so successful. People who want to try this, (you can do it with your iphone as well! So what you do this you click the Keynote Live on the top then it connects to the apple watch straight on!

Screen Shot 2017-11-26 at 9.52.19 pm.png

You will then see the play button on your apple watch where you can touch them to move to next slide. One problem was that you can’t see the slide on your watch which made it bit difficult. Also, you can not go back to the previous slide – which was not a big problem but it could cause problem in some cases I think.


The best part of this/night was when Jame Humberstone told me that I got the ‘Like’ by the APPLE! Apparently they were watching the live stream of our presentation and they heard that I was using apple watch to remote the slideshow! And they gave me a comment and a like! I was quite proud of myself to be honest.

And another best part of the night is KAMS WON! Now we get to go to Music EDnet DAILTiME conference and present our educational resources there! Thank you to everyone who supported us with kindness and love all throughout this semester. 24084998_935461446618751_679829839_o.jpg23949354_935461499952079_829839799_o.jpg

Our next plan as KASMMUSIC is to develop our material in more depth. We are planning on recording few more instruments and developing our educational sides – creating more educational materials, vlogs, polish our website etc. So please, stay in tune with us and see how we progress! And of course, if you have any suggestions, please do, it will help us a lot!

In conclusion, looking back to this semester, it was definitely a very tuff semester. But I do not regret anything! I am so glad we had this course as our degree. It really challenged myself on how far I could go and develop myself. Opportunities this course provided were just uncountable. It was wonderful to have James a our lecturer and of course, thank you so much to my team KASM and Hannah.

TME Project – Using the Final Cut Pro

As you all know by now 😉 My biggest role in this project was to edit all the videos + photos and create vlogs.

It was quite a time consuming and hard job since I had barely any experiences on editing videos professionally – so that it can be uploaded on to the YouTube. I am sure there are people who are just as lost as I was/am around the world. Hope this can help you to start editing videos!

So the program I used is Final Cut Pro X. I found this much simpler, simply because it is quite similar to the iMovie. Screen Shot 2017-11-18 at 11.44.10 pm.png

This will be the first screen you will see when you open up the Final Cut Pro. Yes – too many buttons = headache haha.

First click the button on the top left hand corner (in blue) – This is your Library. You can simply click on to that and add New project/event/library. Screen Shot 2017-11-18 at 11.46.54 pm.png

If you have created the New project, now you need to import photos/videos to start creating your own video. Press where the arrow is and this will take you to the new window where you import your resources.

↓↓Screen Shot 2017-11-18 at 11.47.57 pm.png

Now, you are good to start editing!

Transition/Title – these are very important features in editing the video. You can always use what you already have in the program, however, I looked through some website and found a pretty cool site where you can download some free sample title/transitions and plug them into your program.

When you install those new features, you will see the names underneath just like the photo here;

Screen Shot 2017-11-18 at 11.50.07 pm.png

And now you might think, where can I find transition then?

If you go to far right hand side and look down, you will see those little 7 buttons and here you are:

Screen Shot 2017-11-18 at 11.54.36 pm.png

Transition is a very useful thing to use when you are editing. Whenever you are changing the scene, it make s huge difference on how your video looks like. It makes the video flow nice and smoothly. You can simply add them by dragging them into the video.

I shall share more information by editing this post!

TME Final Project

If you are following me on the twitter, you probably have seen all the YouTube vlogs I have been posting.

In this course, we have a very big final project where we can negotiate any project – just have to create an educational resource for music education. My group, myself, Sophia and Mathew, has been working on creating virtual instrument of Korean Traditional Instruments.

We knew this was a great idea but, how are we going to find a Korean Traditional Instrument player… in Sydney? I was very lucky that one of my friend introduced me to this girl called Hannah Kim, who is doing postgrad at the SCM. And SHE WAS JUST SO AMAZING!

So my main role during the recording session was to take photos + videos of each session and create resources for our vlog + website.

Have a look at our recording sessions:

And as you can see in the video, I was also in charge of setting up/ moving microphone so that we can get the best sound as possible. This video is coming very soon!

Go visit my page OUR EXCITING TECH PROJECT: A TRADITIONAL KOREAN SOUND LIBRARY to see how I edited my photos:)

Mix – up Mash – up

Groove Pizza 

I actually found about this program during my prac. I was discussing about compositional ideas with my prac supervisor and she introduced this program to me.

And here we go! we actually went through this program in our lecture. So the program allows you to input beats, and you can use both the ‘pizza’ or the percussion sheet to click and create your own rhythm.

Screen Shot 2017-10-27 at 2.23.56 pm.png

  • Click ‘Special’ to see/play with it
  • You can also put shapes in to the ‘pizza’ and turn those around to create the sound you want
  • ‘Swing’ allows you to create a swing beat BUT also, it sounds the beat itself visually on the ‘pizza’
  • Screen Shot 2017-10-27 at 2.24.01 pm.png
  • You can immediately import what you have created to the other music program such as SoundTrap. Which then, students can follow on to creating other compositional features. – Step Sequencing
  • Screen Shot 2017-10-27 at 2.24.11 pm.png

Best way to create the music is to DO IT YOURSELF, EXPERIENCE IT then MAKE IT YOURSELF.

The assessment idea coming up on the surface is ‘mash-up’ where students use existing sounds/musics to create the music of your own.

Some existing mash-up artists are:

  • POGO – Mash-up of Disney Movies
  • The Grey Album – Jay Z ‘Black’ Album + Beatles ‘White’ Album
  • Madeon 

But the biggest question is … How do we assess these? So our class came up with few ideas based on marking the musicality of the Mash-Up

  • Do songs fit together as a one music?
  • Tempo changes?
  • Harmonic Movement – where is the music going harmonically? How did they led to the climax point?
  • How did the student moved on from the originality?
  • Techniques/skills involved


The #Maker Movement in Music Education

So the lecture from about 2 weeks ago (?) was on the #MakerMovement in Music education, and we had to explore a Littlebits Kit – Synth in a group.

This was what we were given:

Screen Shot 2017-11-18 at 4.47.30 pm.png

Yes, we struggled a lot haha. Sound was not coming out, something was plugged in wrong etc. Even though it was quite simple to follow the structure, it was quite hard working with something we were not familiar with.

While we were working on this kit, James told us an interesting fact about the sound waves.  Sound-Waves.jpg

Rather than the sound bouncing off from far end to another, it is actually the vibration pushes and pulls in between the air molecule (compressing and decompressing of the air molecule).

And also, did you know that your whole body and skin can actually HEAR the sound. However, ear is the most sensitive part hence, we usually hear the sound with our ears.

Anyway, back to the Little Bits Korg, there were few different particles which then we had to line them up to produce a sound. Parts were;

  • Oscillator
    • Sound moving back and forth
    • Oscillates the voltage/the electricity coming out of the battery.
    • It has two wave forms
      • Square where sound moves in square shape (90 degrees)
      • Saw where the sound moves in an arrow/sharp shape
  • Filter
    • Makes the sound more round by cutting up the higher frequency
  • Delay
    • How long the echoing will go on
  • Feedback
    • How long the sound will echo
  • Envelope
    • Attack
      • Useful when we are using the little keyboard Triggers
      • Fast Attack: Most Percussion Instruments
      • Slow Attack: String, Woodwinds
  • Release
    • Even when you stop playing, a note will keep going
  • LFO
    • Cancels the low frequency only

#MakerMovement by Mark Hatch

How would it look like in the music education in the future? So the #makermovement is all about taking stuff and remake it. Hence, if we incorporate this into the classroom, you will find lots of techy things such as legos or Littlebits.

So maybe soon, we will be able to incorporate 3D printing in music education or ‘create your own musical instrument’ with such as ipad.

I guess what my group’s final tech project is – CREATE YOUR OWN VIRTUAL INSTRUMENT via Kontakt. We are on our final stage of creating and polishing instruments. If you missed out on our vlogs, click the link below and stay in tune!